
Thought 2: The Day We Fried a Sensor (And Learned So Much More)
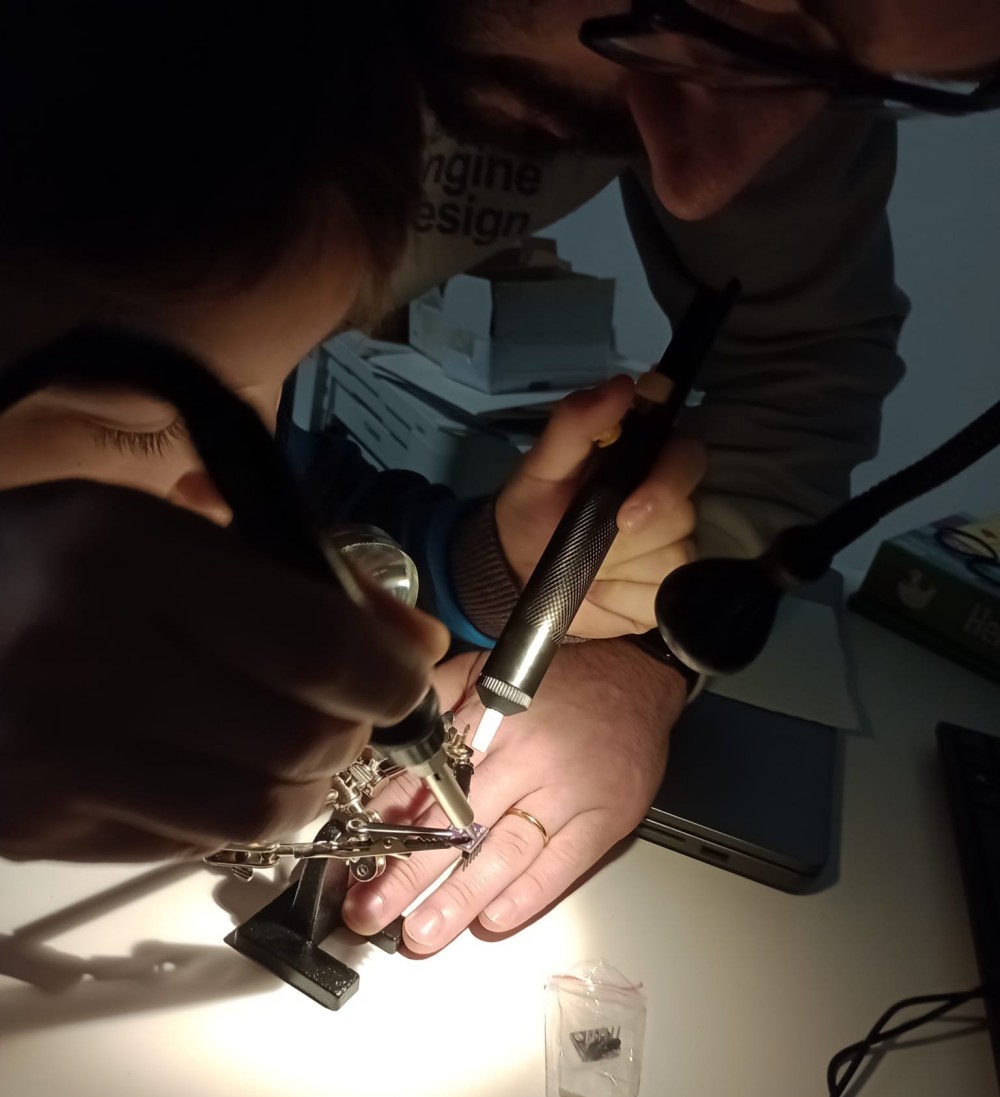
It was one of those Saturdays that smelled of new solder and overly strong coffee. My son’s eyes sparkled as he unpacked the components: an ESP8266, a DHT21/AM2301 for humidity and temperature, a BMP180 for pressure, and an HW611—poor thing, it didn’t yet know its fate. We’d just bought a new soldering iron and a helping hand tool (that thing you don’t think you need until you use it, and then wonder how you ever lived without it).
The plan was simple: build a weather station to place outside, monitor the climate, and integrate the data into Home Assistant. Nothing groundbreaking, but for us, it was an adventure. My son held the soldering iron like a lightsaber, his fingers still clumsy but full of excitement. I, meanwhile, tried to remember how to connect a sensor without burning everything to a crisp. Spoiler: we failed.
The Tragedy of the HW611 Sensor
The first casualty was the poor HW611. A polarity mistake, a moment of distraction, and poof—the smell of burnt plastic and a sensor turned into a blackened lump. My son looked at me. I looked at him. Then we burst out laughing. "Well, at least we learned something," I said. And indeed, from that moment on, we double-checked every connection.
But it wasn’t just about the components. It was something deeper: learning together, making mistakes together, and laughing at our misadventures. We soldered the wires for the DHT21 and BMP180, connected them to the ESP8266, and after a few attempts, it finally worked. Seeing the first data appear on the screen was like turning on a light in a dark room: we had created something.
Home Assistant and the Magic of Data
Once the station started transmitting data, we integrated it into Home Assistant. Now we can see temperature, humidity, and pressure in real time, and even make some rudimentary forecasts. My son loved the part where we created a dashboard with graphs: "Dad, it looks like a video game!" he said. And in a way, it was. A game where the stakes were learning something new.
But there’s more. This project wasn’t just a technical exercise. It was a way to spend time together, to teach him that mistakes are part of the process, and that the satisfaction of seeing something work is priceless. And who knows? Maybe one day we’ll use this data to monitor the chicken coop we plan to build. The hens might even get their own personal weather station!
What We Learned (Beyond Not Frying Sensors)
- Patience is a virtue: Soldering requires precision, and my son discovered that rushing is the enemy of perfection.
- Mistakes are the best teachers: The poor HW611 taught us more than any tutorial ever could.
- Technology can be a bridge: This project brought us closer, and now my son looks at electronics with different eyes.
- Fun is contagious: When you’re passionate about something, even failures become anecdotes to laugh about.
What’s Next?
Now that the station is up and running, we already have new ideas. Maybe we’ll add a rain sensor, or try monitoring the house’s energy consumption. Or perhaps—who knows?—we’ll build something for the chicken coop we’re dreaming of.
But more than anything, what I’ll carry with me isn’t the data or the graphs. It’s my son’s laughter when we fried the sensor, his face when he saw the first numbers appear on the screen, and the feeling of having spent an afternoon truly together.
(Now, if you’ll excuse me, I need to go check if the chickens are plotting to steal our sensors.) 🐔
ESPHome Configuration (YAML)
If you want to replicate our project, here is the YAML file we used to configure the barometer/weather station with ESPHome. We used an ESP8266 (NodeMCU v2), a DHT21/AM2301 sensor for temperature and humidity, and a BMP180 for pressure.
esphome:
  name: barometro
  friendly_name: barometro

esp8266:
  board: nodemcuv2

logger:

api:
  encryption:
    key: "YOUR_API_KEY"

ota:
  - platform: esphome
    password: "YOUR_OTA_PASSWORD"

wifi:
  min_auth_mode: WPA2
  fast_connect: true
  networks:
    - ssid: !secret wifi_ssid_barometro1
      password: !secret wifi_password_barometro1
      priority: 0
    - ssid: !secret wifi_ssid_barometro2
      password: !secret wifi_password_barometro2
      priority: 1
  ap:
    ssid: "Barometro Fallback Hotspot"
    password: "password!!_Fallback"

captive_portal:

i2c:
  sda: GPIO4
  cl: GPIO5
  scan: true

sensor:
  - platform: dht
    pin: GPIO14
    model: DHT22
    temperature:
      name: "Temperatura Esterna"
    humidity:
      name: "Umidità Esterna"
    update_interval: 60s

  - platform: bmp085
    address: 0x77
    temperature:
      name: "Temperatura Interna"
    pressure:
      name: "Pressione"
      id: pressione
    update_interval: 60s

web_server:
  port: 80